Introduction
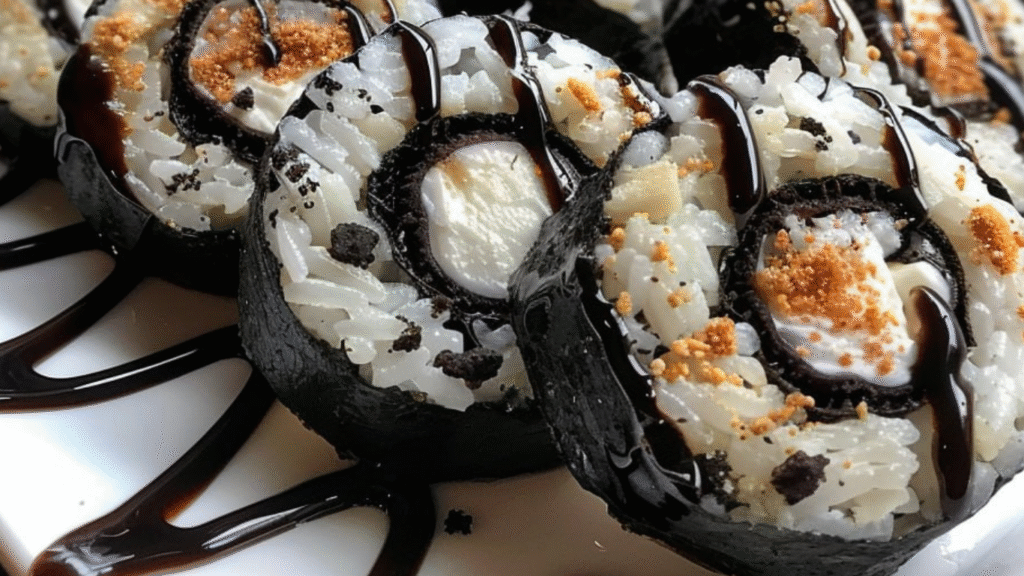
Turn Oreos into adorable “sushi” rolls with just 2 ingredients! This no-bake, kid-friendly dessert is perfect for parties, movie nights, or a creative snack. With a chocolatey “rice” exterior and creamy filling, these bite-sized treats are as fun to make as they are to eat!
Best of all, you only need Oreos and milk—no baking, no fuss, just deliciousness in minutes.
Why You’ll Love This Oreo Sushi
Only 2 Ingredients – Oreos + milk = magic!
No Baking Required – Ready in 15 minutes.
Perfect for Parties – Kids and adults will love it.
Customizable – Add sprinkles, chocolate drizzle, or fruit for extra flair.
Step-by-Step Instructions
Ingredients
- 24 Oreos (1 package), separated into cookies & cream filling
- ¼ cup milk (divided)
Tools Needed
- Food processor or zip-top bag + rolling pin
- Plastic wrap
- Sharp knife
1. Make the Oreo “Rice” Dough
- Remove cream filling from Oreos and set aside.
- Blitz cookies in a food processor (or crush in a bag) into fine crumbs.
- Add 3 tbsp milk and pulse until a dough forms (add more milk if too dry).
2. Shape the Sushi Roll
- Lay plastic wrap on a flat surface.
- Place dough on wrap, press into a square, then roll out to ¼-inch thickness.
- Trim edges to make a neat rectangle.
3. Prepare the “Fish” Filling
- Mix reserved Oreo cream with 1 tsp milk until smooth.
- Spread evenly over the dough.
4. Roll & Slice
- Roll tightly into a log using the plastic wrap.
- Chill 15-30 mins (optional, for firmer slices).
- Slice into 1-inch pieces with a sharp knife.
Serving Ideas
- Drizzle with melted chocolate (for “soy sauce”)
- Top with rainbow sprinkles (for “roe”)
- Dust with powdered sugar (for “wasabi”)
Tips for Success
Use full-fat Oreos – The cream is key for the filling!
Don’t over-add milk – Dough should be moldable, not sticky.
Chill before slicing – Cleaner cuts when firm.
FAQs
Q: Can I use other cookies?
Yes! Try Golden Oreos or chocolate sandwich cookies.
Q: How long does it last?
Store in the fridge for up to 3 days (best fresh).
Q: Can I make it vegan?
Use dairy-free Oreos and plant-based milk.
Q: What if I don’t have a food processor?
Crush cookies in a bag, then mix milk in a bowl.
Final Thoughts
This Oreo Sushi is a playful, no-fuss dessert that’s perfect for any occasion. Whether you’re hosting a party or just craving something sweet, these adorable bites will be a hit!
Print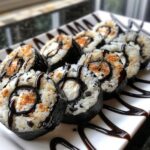
2-Ingredient Oreo Sushi: A Fun & Easy No-Bake Treat!
- Total Time: 40 mins
Description
24 Oreos (one package), separated into cookies and cream filling
1/4 cup milk
Ingredients
24 Oreos (one package), separated into cookies and cream filling
1/4 cup milk
Instructions
Place the Oreo cookies (without the cream) in a food processor and blitz until they become fine crumbs.
Add 3 tablespoons of milk to the food processor and blend until the mixture forms a ball of dough.
Shape the Dough:
Lay a sheet of plastic wrap on a flat surface.
Place the Oreo dough on the plastic wrap. Press it into a rough square shape and use a rolling pin to roll it into an even layer about 1/4 inch thick.
Trim the edges to create a perfect square.
Prepare the Filling:
In a bowl, mix the Oreo cream filling with 2 teaspoons of milk until smooth and creamy.
Assemble the Sushi:
Evenly spread the creamy filling over the rolled-out Oreo dough.
Roll up the dough tightly into a log, using the plastic wrap to help you.
Chill and Serve:
Optional: Wrap the roll in plastic wrap and refrigerate to firm it up for about 30 minutes.
Unwrap the roll, slice it into sushi-sized pieces, and enjoy!
Notes
Use a sharp knife to ensure clean slices.
Serve the Oreo sushi with a drizzle of chocolate sauce or a dusting of powdered sugar for an extra touch!
Enjoy your sweet and simple Oreo sushi!