
There’s nothing quite like the creamy, rich taste of Homemade Vanilla Ice Cream. This timeless dessert is a crowd-pleaser, perfect for hot summer days, family gatherings, or simply satisfying your sweet tooth. With just a handful of ingredients and a little patience, you can create a treat that’s far superior to store-bought versions.
In this article, we’ll explore why this recipe is a must-try, provide a detailed step-by-step guide, and answer common questions to help you make the perfect batch of vanilla ice cream. Let’s dive in!
Why You’ll Love Homemade Vanilla Ice Cream
Making ice cream at home might sound intimidating, but it’s easier than you think. Here’s why this recipe is worth trying:
- It’s simple and customizable: With just a few basic ingredients, you can create a dessert that’s uniquely yours.
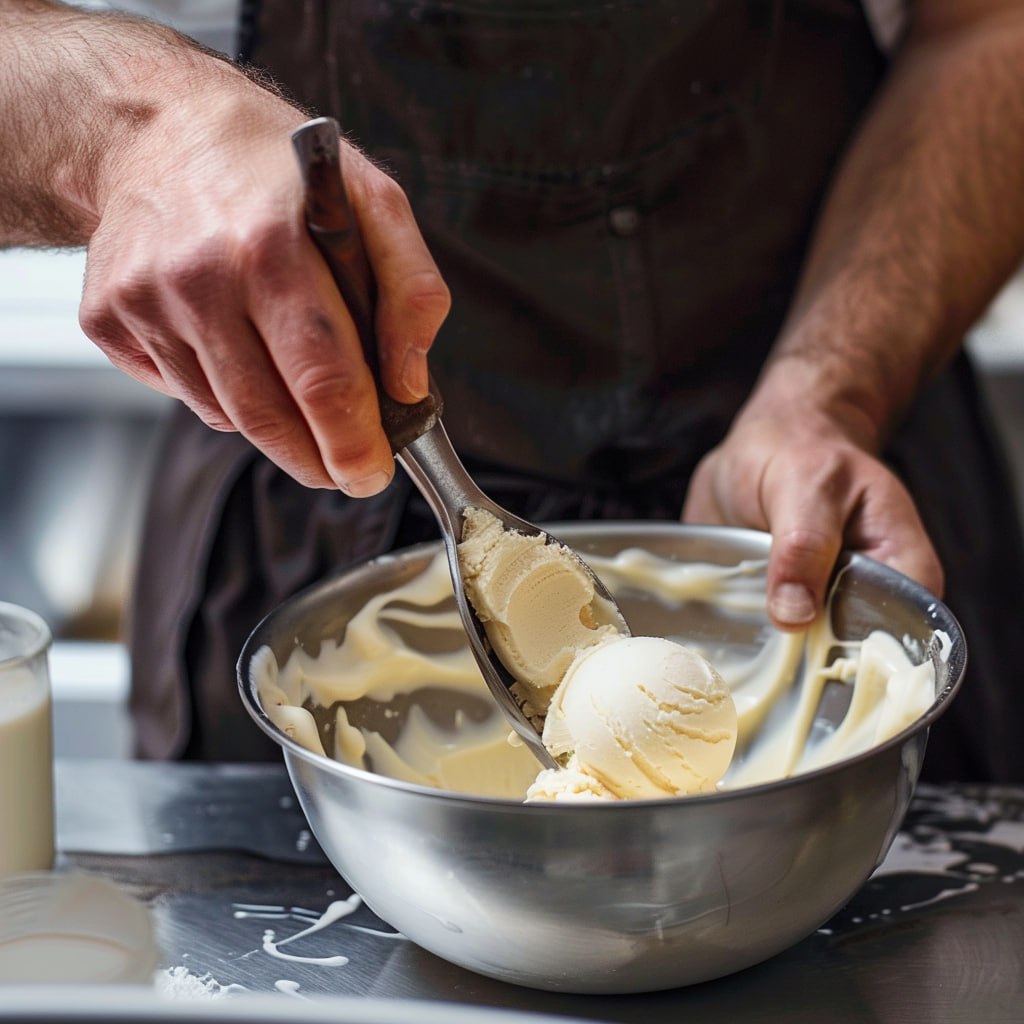
- It’s fresher and richer: Homemade ice cream has a creamier texture and more intense flavor than store-bought options.
- It’s versatile: Serve it on its own, pair it with pies or cakes, or use it as a base for creative toppings and mix-ins.
- It’s fun to make: Whether you’re cooking with kids or experimenting with flavors, making ice cream is a delightful experience.
Moreover, this recipe allows you to control the quality of ingredients, ensuring a healthier and more natural treat.
Step-by-Step Guide to Making Homemade Vanilla Ice Cream
Step 1: Preparation
Before you start, gather all your ingredients and tools. Here’s what you’ll need:
Ingredients:
- 2 cups heavy cream
- 1 cup whole milk
- 3/4 cup granulated sugar
- Pinch of salt
- 2 teaspoons pure vanilla extract
- 1 vanilla bean, split and seeds scraped (optional)
Tools:
- Medium saucepan
- Whisk or spatula
- Mixing bowl
- Ice cream maker
- Freezer-safe container
Additionally, ensure your ice cream maker’s bowl is fully frozen if required by the manufacturer.
Step 2: Cooking
Now that everything is ready, follow these steps to create the ice cream base:
- Heat the mixture: In a medium saucepan, combine the heavy cream, whole milk, granulated sugar, and salt. Heat over medium heat, stirring occasionally, until the mixture reaches a simmer and the sugar has dissolved.
- Add vanilla: Remove the saucepan from the heat and stir in the vanilla extract and scraped vanilla bean seeds (if using).
- Cool the mixture: Let the mixture cool to room temperature.
Step 3: Churning and Freezing
Once the mixture is prepared, it’s time to turn it into ice cream:
- Chill the mixture: Cover the cooled mixture and refrigerate for at least 2 hours, or until thoroughly chilled.
- Churn the ice cream: Pour the chilled mixture into an ice cream maker and churn according to the manufacturer’s instructions until it reaches a soft-serve consistency.
- Freeze: Transfer the churned ice cream to a freezer-safe container and freeze for at least 4 hours, or until firm.
Tips for Making the Best Homemade Vanilla Ice Cream
To ensure your ice cream turns out perfectly, keep these tips in mind:
- Use high-quality ingredients: Opt for pure vanilla extract and fresh dairy products for the best flavor.
- Don’t skip the chilling step: Chilling the mixture ensures a smoother texture and better churning results.
- Experiment with mix-ins: Add chocolate chips, crushed cookies, or fruit for a personalized touch.
- Store it properly: Keep the ice cream in an airtight container to prevent ice crystals from forming.
Common Mistakes to Avoid When Making Vanilla Ice Cream
Even the simplest recipes can go wrong if you’re not careful. Here are some common pitfalls to avoid:
- Using low-fat dairy: While you can substitute low-fat milk, it may affect the creaminess and richness of the ice cream.
- Overheating the mixture: Avoid boiling the cream and milk mixture, as it can alter the texture.
- Skipping the churning process: Churning incorporates air into the mixture, giving the ice cream its light and creamy texture.
- Not freezing long enough: Be patient and let the ice cream freeze completely before serving.
FAQs About Homemade Vanilla Ice Cream
Q: Can I use low-fat milk instead of whole milk?
A: Yes, but keep in mind that the texture and richness of the ice cream may be affected.
Q: Do I need an ice cream maker?
A: While an ice cream maker yields the best results, you can make no-churn ice cream by whipping the cream separately and folding it into the mixture before freezing.
Q: How long does homemade ice cream last?
A: Stored in an airtight container, it can last up to 2 weeks in the freezer.
Q: Can I add other flavors?
A: Absolutely! Experiment with cocoa powder, fruit purees, or extracts like almond or mint.
Conclusion
This Homemade Vanilla Ice Cream recipe is a classic dessert that’s perfect for any occasion. With its creamy texture, rich flavor, and endless customization options, it’s a treat that everyone will love. Whether you’re enjoying it on a cone, pairing it with your favorite dessert, or adding creative mix-ins, this ice cream is sure to impress.


