
If you’re a fan of peanut butter and crave a dessert that’s both chewy and gooey, Peanut Butter Lunch Lady Cookie Bars are the ultimate treat for you. These bars are packed with rich peanut butter flavor, making them a crowd-pleaser for bake sales, potlucks, or even a cozy night in. With a perfect balance of sweetness and texture, this recipe is a nostalgic nod to the classic lunch lady cookies many of us grew up loving.
In this article, we’ll dive into why you’ll adore these cookie bars, provide a step-by-step guide to making them, answer frequently asked questions, and share tips to ensure your bars turn out perfectly every time. Let’s get started!
Why You’ll Love Peanut Butter Lunch Lady Cookie Bars
These Peanut Butter Lunch Lady Cookie Bars are more than just a dessert—they’re a delightful experience. Here’s why they’re a must-try:
- Easy to make: With simple ingredients and straightforward steps, this recipe is perfect for bakers of all skill levels.
- Versatile: You can customize the recipe by adding chocolate chips, drizzling melted chocolate on top, or even using chunky peanut butter for extra texture.
- Crowd-pleasing: Whether you’re serving them at a party or packing them for a school lunch, these bars are guaranteed to be a hit.
- Perfect texture: The combination of creamy peanut butter, oats, and a chewy base creates a texture that’s simply irresistible.
Moreover, these bars are a fantastic way to satisfy your peanut butter cravings without spending hours in the kitchen.
Step-by-Step Guide to Making Peanut Butter Lunch Lady Cookie Bars
Step 1: Preparation
Before you start baking, it’s essential to gather all your ingredients and tools. Here’s what you’ll need:
Ingredients:
- 1 cup (2 sticks) unsalted butter, softened
- 1 cup granulated sugar
- 1 cup packed light brown sugar
- 2 large eggs
- 1 cup creamy peanut butter
- 1 teaspoon vanilla extract
- 2 cups all-purpose flour
- 1 teaspoon baking soda
- 1/2 teaspoon salt
- 2 cups quick oats
Tools:
- 9×13-inch baking pan
- Mixing bowls
- Whisk or electric mixer
- Measuring cups and spoons
- Spatula
Additionally, preheat your oven to 350°F (175°C) and grease your baking pan to prevent sticking.
Step 2: Cooking
Now that everything is ready, let’s dive into the baking process:
- Cream the butter and sugars: In a large mixing bowl, combine the softened butter, granulated sugar, and brown sugar. Use an electric mixer to beat them until the mixture is light and fluffy.
- Add the wet ingredients: Beat in the eggs one at a time, ensuring each egg is fully incorporated before adding the next. Then, stir in the peanut butter and vanilla extract until the mixture is smooth and well combined.
- Mix the dry ingredients: In a separate bowl, whisk together the flour, baking soda, and salt. Gradually add this mixture to the wet ingredients, mixing until just combined.
- Incorporate the oats: Stir in the quick oats until they’re evenly distributed throughout the dough.
- Press the dough into the pan: Transfer the dough to your greased baking pan and press it down evenly using a spatula or your hands.
Step 3: Baking and Assembly
Once the dough is prepared, it’s time to bake and assemble your bars:
- Bake the bars: Place the pan in the preheated oven and bake for 18–22 minutes. Keep an eye on the edges—they should turn golden brown, while the center should be set but still slightly soft.
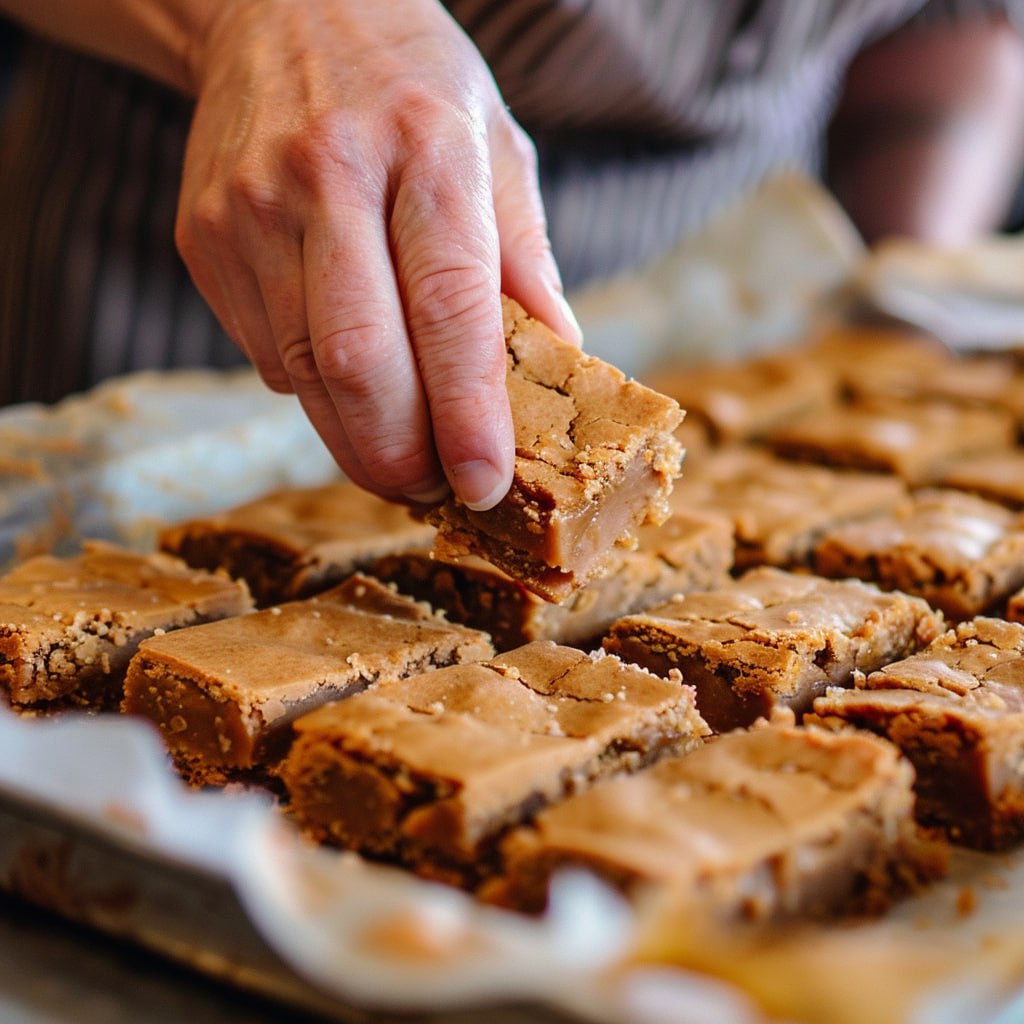
- Cool completely: Remove the pan from the oven and let the bars cool completely before cutting them into squares. This step is crucial to ensure the bars hold their shape.
Tips for Making the Best Peanut Butter Lunch Lady Cookie Bars
To ensure your bars turn out perfectly every time, follow these expert tips:
- Use room temperature ingredients: Softened butter and eggs at room temperature mix more evenly, resulting in a smoother dough.
- Don’t overmix the dough: Overmixing can lead to dense bars. Mix until the ingredients are just combined.
- Adjust baking time: Oven temperatures can vary, so start checking your bars at the 18-minute mark to avoid overbaking.
- Experiment with add-ins: For a twist, try adding chocolate chips, chopped nuts, or a drizzle of melted chocolate on top.
Common Mistakes to Avoid When Preparing Peanut Butter Lunch Lady Cookie Bars
Even the simplest recipes can go wrong if you’re not careful. Here are some common pitfalls to avoid:
- Using cold butter: Cold butter won’t cream properly with the sugars, leading to uneven texture.
- Skipping the cooling step: Cutting the bars while they’re still warm can cause them to crumble.
- Overbaking: Overbaked bars can become dry and lose their chewy texture.
FAQs About Peanut Butter Lunch Lady Cookie Bars
Q: Can I use chunky peanut butter instead of creamy?
A: Yes, you can! However, keep in mind that chunky peanut butter will add a bit of texture to the bars.
Q: How do I store these cookie bars?
A: Store them in an airtight container at room temperature for up to 5 days. You can also freeze them for up to 3 months.
Q: Can I make these bars gluten-free?
A: Absolutely! Substitute the all-purpose flour with a gluten-free flour blend, and ensure your oats are certified gluten-free.
Q: How can I make these bars healthier?
A: For a healthier version, use natural peanut butter, reduce the sugar by 1/4 cup, and add flaxseed or chia seeds for extra nutrients.
Conclusion
Peanut Butter Lunch Lady Cookie Bars are a timeless treat that combines the rich flavor of peanut butter with a chewy, satisfying texture. Whether you’re baking them for a special occasion or simply indulging in a sweet craving, these bars are sure to impress.
With this detailed guide, you’re equipped to make the perfect batch every time. So, preheat your oven, gather your ingredients, and get ready to enjoy a dessert that’s as fun to make as it is to eat. Don’t forget to share your creations with friends and family—they’ll thank you for it!
What’s your favorite way to enjoy peanut butter desserts? Let us know in the comments below!


