Picture this: layers of creamy whipped goodness sandwiched between chocolatey Oreo cookies, creating a dessert that’s both elegant and effortless. The Oreo Icebox Cake has become a beloved favorite among home bakers who want maximum impact with minimal effort. Moreover, this no-bake wonder transforms simple ingredients into a show-stopping dessert that rivals any fancy bakery creation.
Additionally, this timeless treat requires no special equipment or advanced baking skills. Furthermore, it’s perfect for busy schedules since you can prepare it hours or even a day ahead. In fact, the longer it chills, the better it becomes as the cookies soften into cake-like layers.
Print
The Ultimate Guide to Making the Perfect Oreo Icebox Cake
- Total Time: 4 hrs 20 mins
- Yield: 12 servings 1x
- Diet: Vegetarian
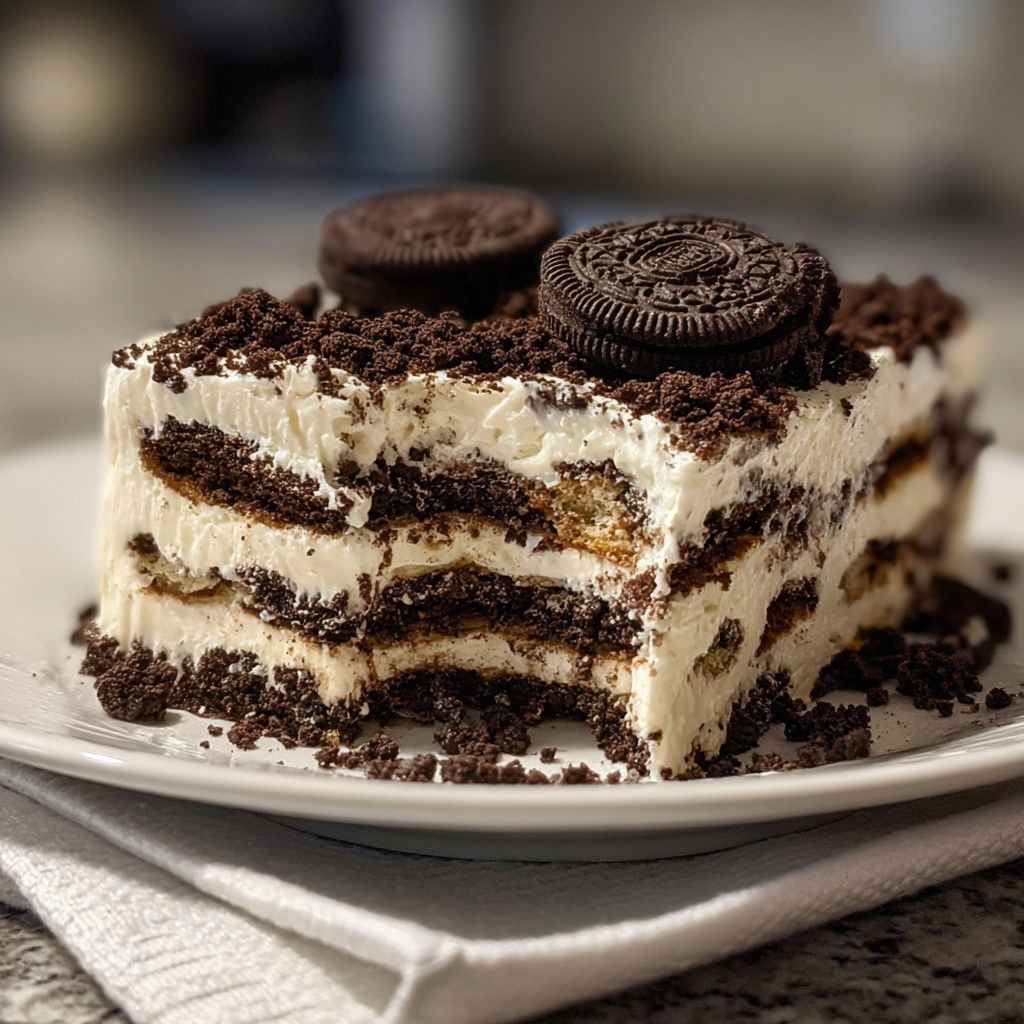
Description
This no-bake Oreo Icebox Cake is the ultimate effortless dessert! With layers of fluffy whipped cream and classic Oreo cookies, it transforms into a soft, creamy, and chocolatey delight after a chill in the fridge. Perfect for parties, potlucks, or weeknight indulgence!
Ingredients
- 1 package (14.3 oz) Oreo cookies
- 3 cups heavy cream, chilled
- 1/2 cup powdered sugar
- 1 teaspoon vanilla extract
- Chocolate sauce or crushed Oreos for garnish (optional)
Instructions
- Whip the cream: In a large bowl, combine chilled heavy cream, powdered sugar, and vanilla. Beat with a mixer until stiff peaks form.
- Start layering: Spread a thin layer of whipped cream in the bottom of a 9×13-inch dish.
- Add Oreos: Place a single layer of Oreos over the whipped cream. Break some if needed to fill gaps.
- Repeat layers: Alternate whipped cream and Oreos, ending with a final layer of whipped cream on top.
- Chill: Cover and refrigerate for at least 4 hours, or overnight, to allow the cookies to soften.
- Serve: Garnish with crushed Oreos or a drizzle of chocolate sauce, then slice and enjoy chilled.
Notes
- Shortcut: Use 1 (8 oz) tub of whipped topping instead of homemade whipped cream, if preferred.
- Flavor twist: Try using flavored Oreos like mint or peanut butter for a fun variation.
- Storage: Keep covered in the fridge for up to 3 days.
- Prep Time: 20 mins
- Cook Time: undefined
- Category: Dessert
- Method: No-Bake
- Cuisine: American
Nutrition
- Serving Size: 1 slice
- Calories: 400 kcal
- Sugar: 28 g
- Sodium: 220 mg
- Fat: 28 g
- Saturated Fat: undefined
- Unsaturated Fat: undefined
- Trans Fat: undefined
- Carbohydrates: 32 g
- Fiber: 1 g
- Protein: 3 g
- Cholesterol: 60 mg
Keywords: oreo dessert, icebox cake, no-bake cake, whipped cream, summer dessert
Why You’ll Love This Oreo Icebox Cake
Creating the perfect Oreo Icebox Cake offers numerous advantages that make it an ideal choice for any occasion. Here’s why this dessert deserves a permanent spot in your recipe collection:
• It’s incredibly easy to make: Even beginners can master this recipe without any stress or complicated techniques.
• It’s completely customizable: Furthermore, you can adapt flavors, add mix-ins, or change up the presentation to suit your preferences.
• It’s budget-friendly: Additionally, the simple ingredient list won’t break the bank while still delivering impressive results.
• It’s make-ahead friendly: Moreover, this dessert actually improves with time, making it perfect for party planning.
• It’s crowd-pleasing: Therefore, both kids and adults will love the familiar Oreo flavor combined with creamy textures.
• It requires no baking: Consequently, it’s perfect for hot summer days when you don’t want to heat up the kitchen.
• It’s portion-friendly: In addition, the rectangular pan makes it easy to cut clean, even slices for serving.
Essential Ingredients for the Best Oreo Icebox Cake
Understanding your ingredients is crucial for achieving the perfect Oreo Icebox Cake. Each component plays a specific role in creating the ideal texture and flavor balance.
The Cookie Foundation
Oreo cookies form the backbone of this dessert. Specifically, the classic chocolate sandwich cookies provide both structure and flavor. However, you can experiment with different Oreo varieties like Golden Oreos, Double Stuf, or seasonal flavors. Additionally, using about 30-36 cookies from a standard 14.3-ounce package ensures adequate coverage for all layers.
The Creamy Component
Heavy cream creates the luscious texture that makes this dessert irresistible. Moreover, the 35% fat content is essential for achieving stable peaks that won’t collapse. Furthermore, chilling the cream beforehand helps it whip faster and hold its shape better. In contrast, lighter creams may not provide the same rich mouthfeel.
Sweetening and Flavoring
Powdered sugar dissolves more easily than granulated sugar, creating a smoother texture. Additionally, vanilla extract adds depth and complements the chocolate cookies perfectly. However, you can substitute with almond extract or even coffee liqueur for adult variations.
Step-by-Step Guide to Making Oreo Icebox Cake
Step 1: Preparation and Setup
Begin by gathering all your ingredients and equipment. Specifically, you’ll need a 9×13-inch baking dish, electric mixer, and measuring tools. Additionally, ensure your heavy cream is well-chilled, as this helps create better volume when whipped.
Moreover, clear space in your refrigerator for the assembled cake. Furthermore, consider lining your dish with parchment paper for easier removal, though this step is optional.
Step 2: Creating the Perfect Whipped Cream
Start by placing your mixing bowl and beaters in the freezer for 15 minutes beforehand. This technique helps achieve better results. Subsequently, pour the chilled heavy cream into the cold bowl.
Additionally, begin mixing on medium speed until the cream starts to thicken. Then, gradually increase to high speed while slowly adding powdered sugar and vanilla extract. Furthermore, watch carefully as the cream transforms from soft to stiff peaks.
However, be cautious not to over-whip, as this can result in butter formation. Therefore, stop mixing once you achieve peaks that hold their shape firmly.
Step 3: Assembly Techniques for Oreo Icebox Cake
Assembly requires patience and attention to detail for the best results. First, spread a thin layer of whipped cream across the bottom of your dish. This base layer prevents the cookies from sticking to the pan.
Next, arrange whole Oreo cookies in a single layer over the cream. Additionally, break some cookies into pieces to fill any gaps, ensuring complete coverage. Moreover, press gently to help cookies adhere to the cream layer.
Furthermore, spread another generous layer of whipped cream over the cookies, making sure to cover them completely. Then, repeat this process until you’ve used most of your ingredients, finishing with a top layer of whipped cream.
Step 4: The Chilling Process for Perfect Oreo Icebox Cake
Cover the assembled cake tightly with plastic wrap, ensuring the wrap doesn’t touch the surface. Additionally, refrigerate for at least 4 hours, though overnight chilling produces superior results.
During this time, the cookies gradually absorb moisture from the whipped cream. Consequently, they soften and transform into cake-like layers. Moreover, the flavors meld together, creating a more cohesive dessert.
Furthermore, the longer chilling time allows for easier slicing and cleaner presentation. Therefore, patience during this step rewards you with the perfect texture.
Advanced Tips for the Ultimate Oreo Icebox Cake
Flavor Variations and Customizations
Experimenting with different flavors can elevate your Oreo Icebox Cake to new heights. For instance, try adding instant pudding mix to your whipped cream for extra flavor and stability. Additionally, coffee-flavored variations work wonderfully with chocolate cookies.
Moreover, consider layering in fresh berries between the cream and cookies. Furthermore, peanut butter lovers can fold creamy peanut butter into the whipped cream mixture. However, start with small amounts and taste as you go.
Presentation and Garnishing Tips
Professional-looking presentation makes your Oreo Icebox Cake even more appealing. Specifically, reserve some cookies for crushing into a fine powder for garnishing. Additionally, drizzling chocolate sauce in decorative patterns adds visual interest.
Furthermore, consider using a piping bag to create decorative swirls on the top layer. Moreover, fresh mint leaves or colorful sprinkles can provide beautiful color contrast. However, add garnishes just before serving to maintain their appearance.
Storage and Serving Suggestions
Proper storage ensures your Oreo Icebox Cake maintains its quality. Specifically, keep it covered in the refrigerator for up to three days. Additionally, use a sharp knife dipped in warm water for clean slices.
Moreover, serve chilled portions on individual plates with optional garnishes. Furthermore, this dessert pairs wonderfully with fresh coffee or cold milk. However, avoid leaving it at room temperature for extended periods.
Troubleshooting Common Oreo Icebox Cake Issues
Fixing Whipped Cream Problems
Sometimes whipped cream doesn’t behave as expected. For instance, if your cream won’t whip properly, check that it’s cold enough and fresh. Additionally, ensure your bowl and beaters are completely clean and free from any grease.
Moreover, if you accidentally over-whip and create butter, start fresh with new cream. Furthermore, adding a tablespoon of cold milk can sometimes rescue slightly over-whipped cream. However, prevention is better than trying to fix the problem.
Preventing Soggy Layers
Soggy layers can ruin the texture of your Oreo Icebox Cake. Therefore, avoid using too much liquid in your whipped cream mixture. Additionally, ensure cookies are completely dry before assembly.
Furthermore, don’t over-saturate any single layer with cream. Moreover, proper chilling time allows moisture to distribute evenly throughout the dessert. However, if layers seem too wet, try reducing cream quantities in future attempts.
Achieving Clean Slices
Clean, professional-looking slices require the right technique. Specifically, use a large, sharp knife for cutting. Additionally, wipe the blade clean between each cut to prevent messy edges.
Moreover, dipping the knife in warm water helps it glide through the layers smoothly. Furthermore, cutting with a gentle sawing motion works better than pressing straight down. However, ensure the cake is properly chilled before attempting to slice.
Creative Variations of Oreo Icebox Cake
Seasonal and Holiday Adaptations
Transform your Oreo Icebox Cake for different seasons and occasions. For example, use Halloween Oreos and orange-tinted whipped cream for October celebrations. Additionally, Christmas variations can incorporate peppermint extract and crushed candy canes.
Moreover, spring versions might include lemon zest and fresh berries. Furthermore, summer adaptations could feature tropical flavors like coconut or lime. However, maintain the basic structure while adjusting flavors and colors.
Individual Serving Options
Creating individual Oreo Icebox Cake servings offers elegant presentation options. Specifically, use mason jars or clear glasses to showcase the beautiful layers. Additionally, this approach makes portion control easier for events.
Moreover, individual servings eliminate the need for cutting and serving. Furthermore, guests can customize their own toppings and garnishes. However, assembly time increases when making multiple individual portions.
Healthy Alternatives
Lighter versions of Oreo Icebox Cake can satisfy health-conscious dessert lovers. For instance, substitute reduced-fat cookies and sugar-free whipped topping. Additionally, Greek yogurt can replace some of the heavy cream for added protein.
Moreover, fresh fruit layers add vitamins and reduce overall calorie density. Furthermore, using natural sweeteners like honey or maple syrup provides alternatives to powdered sugar. However, texture changes may occur with significant substitutions.
The Science Behind Perfect Oreo Icebox Cake
Understanding the science helps create consistently excellent results. Specifically, the cookies’ chocolate wafers contain proteins that soften when exposed to moisture. Additionally, the cream’s fat content provides stability and rich mouthfeel.
Moreover, the chilling process allows enzymatic reactions that enhance flavor development. Furthermore, proper fat distribution creates the smooth, creamy texture that makes this dessert irresistible. Therefore, following timing and temperature guidelines ensures optimal results.
Serving and Presentation Ideas for Oreo Icebox Cake
Plating Techniques
Professional plating elevates your Oreo Icebox Cake presentation significantly. For example, use chilled plates to maintain the dessert’s temperature. Additionally, consider drizzling sauces in artistic patterns around the plate edges.
Moreover, dusting plates with cocoa powder creates an elegant backdrop. Furthermore, small garnishes like fresh berries or mint sprigs add color and freshness. However, avoid overwhelming the dessert with too many competing elements.
Accompaniment Suggestions
Thoughtful accompaniments enhance the Oreo Icebox Cake experience. Specifically, vanilla ice cream provides temperature contrast and additional creaminess. Additionally, fresh strawberries offer acidic balance to the rich chocolate.
Moreover, coffee or espresso complements the dessert’s sweetness perfectly. Furthermore, dessert wines like port or moscato create sophisticated pairings. However, simple accompaniments often work best with this already rich dessert.
FAQs About Oreo Icebox Cake
Q: Can I make Oreo Icebox Cake ahead of time?
A: Absolutely! In fact, this dessert benefits from advance preparation. Moreover, making it 24 hours ahead allows optimal texture development. Additionally, the convenience factor makes it perfect for entertaining.
Q: How long does Oreo Icebox Cake last in the refrigerator?
A: Properly stored, it maintains quality for up to three days. However, it’s best enjoyed within the first two days for optimal texture. Furthermore, always keep it covered to prevent absorption of refrigerator odors.
Q: Can I use store-bought whipped topping instead of homemade?
A: Yes, store-bought whipped topping works as a convenient substitute. Additionally, frozen whipped topping should be thawed completely before use. However, homemade whipped cream generally provides superior flavor and texture.
Q: What’s the best way to cut clean slices of Oreo Icebox Cake?
A: Use a large, sharp knife dipped in warm water between cuts. Moreover, wipe the blade clean after each slice for the neatest presentation. Additionally, ensure the cake is properly chilled before cutting.
Q: Can I freeze Oreo Icebox Cake for longer storage?
A: While possible, freezing changes the texture significantly. Specifically, the whipped cream may become grainy upon thawing. Therefore, refrigeration is the preferred storage method for maintaining quality.
Q: How can I prevent my whipped cream from deflating?
A: Use properly chilled heavy cream with adequate fat content. Additionally, avoid over-whipping, which can cause the cream to break. Moreover, adding a small amount of gelatin can provide extra stability if needed.
Q: What variations can I try with this basic Oreo Icebox Cake recipe?
A: Numerous variations are possible while maintaining the basic structure. For example, try different cookie flavors, add fruit layers, or incorporate flavored extracts. Additionally, pudding layers can add extra richness and flavor complexity.
Conclusion
The Oreo Icebox Cake represents the perfect marriage of simplicity and indulgence. Throughout this comprehensive guide, we’ve explored every aspect of creating this beloved dessert, from basic techniques to creative variations. Moreover, the versatility and make-ahead convenience make it an invaluable addition to any dessert repertoire.
Furthermore, the combination of creamy textures and familiar chocolate flavors ensures universal appeal. Additionally, the minimal equipment requirements and straightforward assembly process make it accessible to bakers of all skill levels. Therefore, this dessert offers maximum reward for minimal effort investment.